
✓
Food jars
Honey, sauces, condiments, preserves and dry product jars.
Jar wraparound labelling
Jar labelling requires stable product rotation, good side support and accurate label dispense. Lancing supplies jar labelling machines for food, cosmetics, healthcare and technical products.
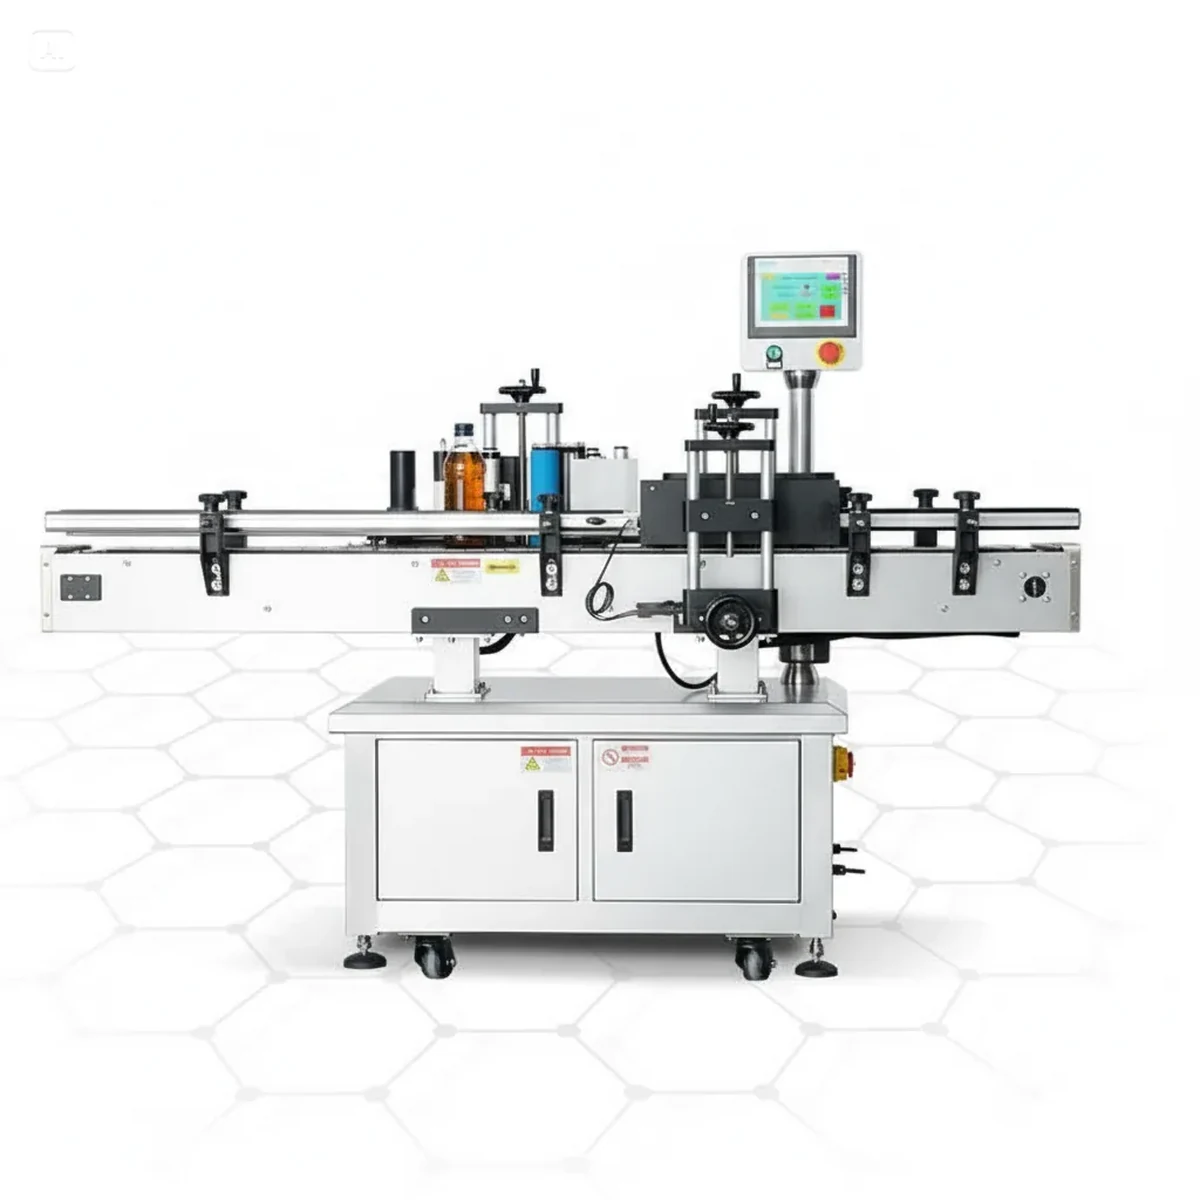
Jar applications
Honey, sauces, condiments, preserves and dry product jars.
Creams, balms and personal care containers where label alignment affects retail presentation.
Cylindrical tubs and containers used for chemicals, powders and industrial products.
Machine selection
Wide jars can be straightforward; tall or lightweight jars may need extra side support.
The machine is configured to wrap the label smoothly and control the final seam position.
Guide rails and roller settings should be easy to adjust for different jar diameters.
Questions
Yes, subject to sample testing and suitable guide setup.
This site focuses on wraparound labels. For separate front-and-back labels, a different configuration may be required.
Samples are strongly recommended so the label path, rotation and guides can be checked.
Quick enquiry
Include the container diameter, label size, material, target output and whether the label is paper, film or transparent. We will recommend the most suitable semi-automatic, compact or fully automatic configuration.
Phone: 01494 623015
Email: sales@lancinguk.com
Jar application engineering
Glass and plastic jars can appear simple, but rims, shoulders, seams and surface condition affect the finished wrap.
Start by checking that the label sits on a straight cylindrical section. Many jars have a shoulder below the lid, a curved heel near the base or a moulding seam through the label panel. If the label is too tall for the straight section, one edge can travel over a changing diameter and produce skew or wrinkles. The jar should also rotate without rocking, slipping or being obstructed by the lid profile.
Check diameter variation, moulding seams, surface cleanliness and whether cold filling or condensation is present. Adhesive performance should be assessed under the expected pack and storage conditions.
Assess wall rigidity and roundness when filled. Guides and wrap pressure must control the pack without deforming it or changing the label seam from one cycle to the next.
Confirm the required seam, artwork orientation and any panel that must align with a cap, handle or moulding feature. Provide the production roll so sensor and unwind behaviour can be tested.
For short seasonal batches, the semi-automatic route may offer simple changeover. A compact automatic machine can suit regular jar production, while the fully automatic labeller is intended for continuous conveyor lines. Timed output should include jar transfer, coding and downstream accumulation rather than only the label application cycle.
Send jars in production condition, including lids where their diameter affects guides, together with final labels and full roll data. The sample-testing guide explains how to assess label height, skew, seam position, wrinkles, bubbles and edge lift across a repeat run.
Jar format checks
Jar shoulders, bases, mould seams, closure overhang and glass variation can restrict the usable wrap area.
Record diameter at several heights, label-panel width and the relationship to the lid or closure.
Use the material and surface guide, especially where jars are cold, damp or handled with product residue.
Use the placement guide to define height, skew and the trailing-edge position.
Clear labels should be tested on the final liner and artwork using the sensor guide.
For a round jar, measure and mark the straight label area rather than using total jar height as the label limit. Show the shoulder, base curve and lid overhang on the sample. Ask the supplier to review how these features relate to the proposed wrap and container support.
If the same jar is used with different labels, include each width and seam arrangement. If similar jars come from different suppliers, identify them separately and request the necessary comparison. A nominal jar volume is not a complete description of the surface the machine must label.
Treat the lid label as a separate application requirement. Show its position and sequence and ask whether an additional head or different arrangement is included; do not assume a body-wrap configuration covers the top face.