
✓
Real containers
Use the same material, shape and size as production.
Sample testing
Sample testing helps confirm whether a container, label and machine configuration will work together before purchase or production scale-up.
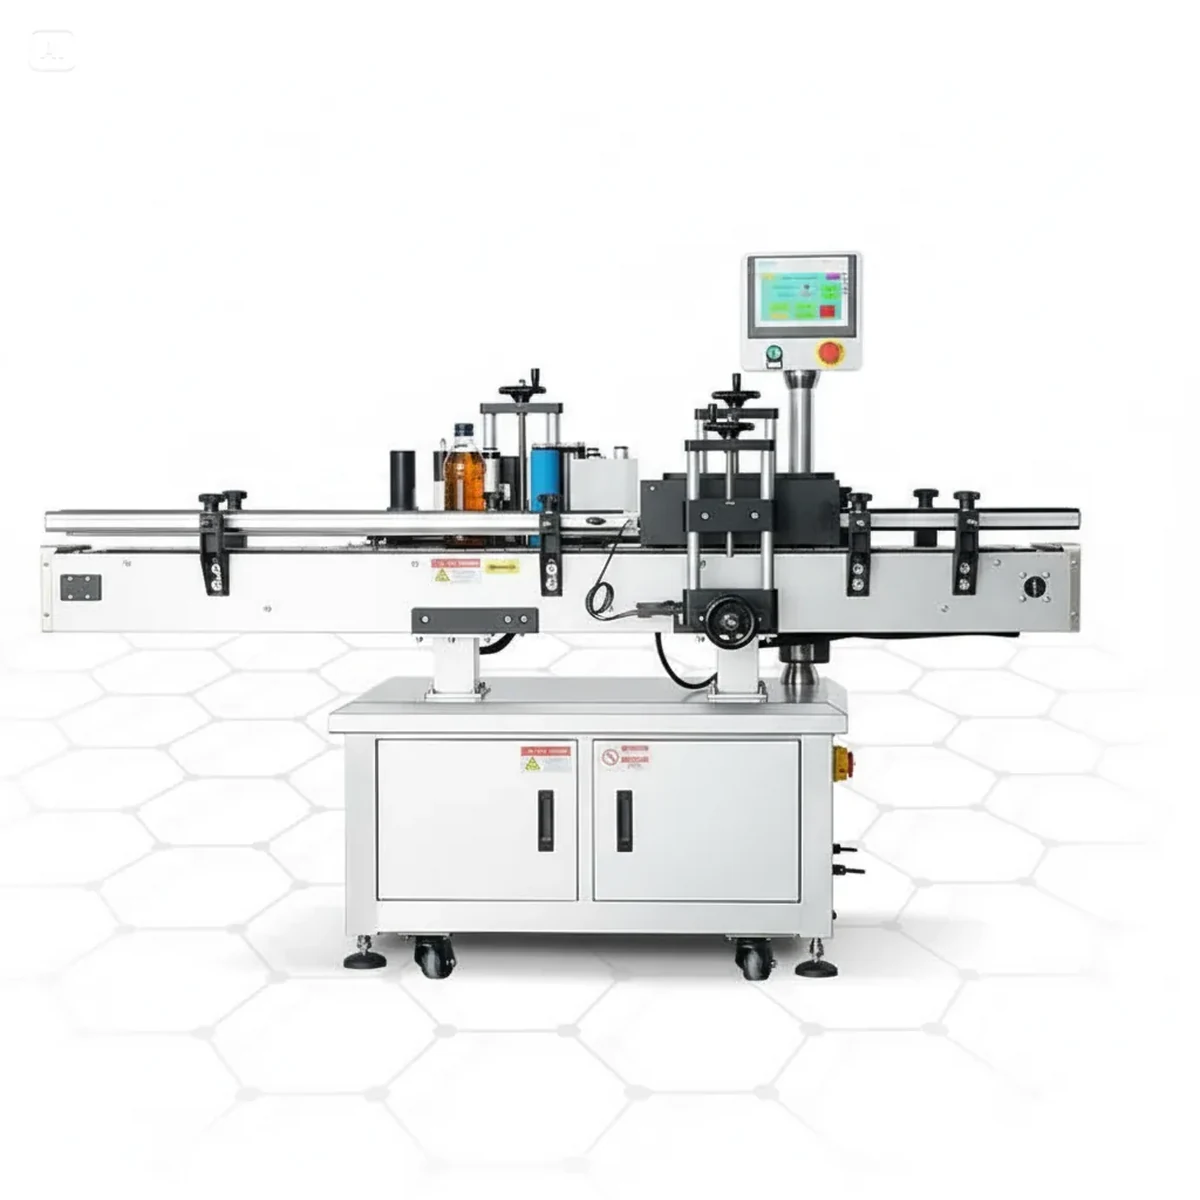
Testing guide
The most useful test uses final or near-final containers and labels. Changes to label material, adhesive, bottle finish, fill level or cap can affect the way a product runs through a labeller. This page explains what samples to prepare.
Use the same material, shape and size as production.
Use the intended label material, backing and roll direction.
Share output target, line layout and changeover requirements.
Demonstration evidence
These supplied clips illustrate automatic container presentation and wraparound label application. They demonstrate the machine principle; final speed and accuracy remain dependent on the selected machine, container and label.
The clip shows round containers travelling through an automatic labelling station. During a formal trial, bottle stability, guide position, label detection and wrap quality are reviewed at the required line speed.
The clip shows a cylindrical container rotating against the application rollers while the label is wrapped around the product. A sample trial checks label length, seam position, roll direction and container surface.
Demonstration footage is illustrative and is not a customer performance claim. Confirmed performance is recorded only after testing the actual production container and label.
Trial record
A useful trial record turns a machine demonstration into practical specification evidence.
| Check | Evidence recorded | Decision supported |
|---|---|---|
| Container handling | Filled and empty samples, diameter, height, rigidity and stability | Guides, rollers, spacing and machine type |
| Label feed | Material, backing, gap, roll direction, unwind and sensor response | Sensor choice and label-path setup |
| Application quality | Placement, skew, wrinkles, bubbles, seam and repeatability | Roller pressure, speed and product control |
| Coding | Print area, contrast, adhesion and readability | Coder type and position |
| Output | Stable containers per minute under stated trial conditions | Production capacity and integration |
Practical comparison
| Sample item | Preferred detail | Reason |
|---|---|---|
| Containers | Multiple filled and empty examples | Shows stability and handling |
| Labels | Full roll or representative roll | Tests feed and sensor detection |
| Caps | Production caps fitted | Affects height and guiding |
| Artwork | Final size and orientation | Checks placement |
| Line details | Photos or video | Helps integration review |
Specification advice
Review the actual container shape, diameter, label panel and surface finish. A label applicator works best when the pack is stable and the label area is predictable.
Confirm label material, roll direction, label gap and adhesive before ordering production labels. Clear, film or metallic labels may need extra testing.
Decide whether the operation is batch-fed, compact automatic or part of a conveyorised filling and capping line. The best machine is the one that fits the full process.
Related guidance
Use these guides to compare machine routes, confirm the label and container specification, and prepare the evidence needed for a useful quotation.
Browse selection, setup, sensing, output, integration and troubleshooting guidance for round-container labelling projects.
Compare bench, compact and automatic routes using container, label, output, changeover and integration requirements.
Collect container dimensions, label-roll data, output, coding and site details before requesting a machine quotation.
Check unwind direction, leading edge and roll presentation before ordering production labels or arranging a trial.
Measure the usable cylindrical panel and estimate label length, seam gap or overlap for a representative sample.
Separate headline cycle rate from sustainable accepted output by allowing for handling, coding, stops and changeovers.
Work through container, roll, sensor, guide and wrap settings when labels skew, wrinkle, bubble or fail to dispense.
Browse selection, setup, sensing, output, integration and troubleshooting guidance for round-container labelling projects.
Review conveyorised wraparound labelling for higher-output round-container lines and upstream or downstream integration.
Review a smaller automatic route for growing production where repeatability is needed without a full-size inline system.
Review operator-fed wraparound labelling for shorter batches, frequent changeovers and limited production space.
Compare bench, semi-automatic, compact and fully automatic wraparound labellers in one range overview.
Questions
Filled bottles are often better because weight and rigidity can change handling.
Yes, final label material and backing give the most reliable test.
Photos help initial advice, but samples give a better practical review.
Technical review
This guide is maintained by Lancing's packaging machinery team. Lancing states that it has specialised in semi-automatic and fully automatic machinery for over 40 years and supports equipment across the UK, Europe and worldwide. Final recommendations are confirmed against actual containers, labels and production targets.
Last technical review: 11 July 2026 · About Lancing · Official company profile
Quick enquiry
Include container diameter, label size, material, target output and whether the label is paper, film or transparent. Lancing can recommend a suitable semi-automatic, compact or automatic configuration.
Phone: 01494 623015
Email: sales@lancinguk.com
Trial evidence protocol
The supplied demonstration videos show the machine routes in operation; an application trial should add measurements and a written record tied to the exact samples used.
Give each container and label roll a simple reference. Record the container material, nominal diameter and height, filled weight or fill condition, label width and length, face material, backing liner, gap, core diameter, roll outside diameter and winding direction. Photograph any taper, seam, shoulder, recessed panel or surface feature that may influence the wrap.
Select a repeatable container reference such as the base, shoulder or moulded feature. Measure the upper and lower label edge from that reference at defined points. Record the seam position or overlap, then assess skew by comparing the label edge or seam at the start and end of the wrap. The acceptance method should state the units, measuring tool, sample count and whether the result is taken during start-up, steady running or both.
Inspect the full circumference, especially where the label crosses seams, taper or a change in surface. Record the location and whether the defect repeats on consecutive packs.
Check both label edges and the seam immediately after application and again after an agreed settling period. Note container temperature, moisture, dust or oil present during the test.
Confirm that the overlap or gap is acceptable and that key artwork faces the intended direction. If orientation is required, define the container feature used as the reference.
Use the actual transparent or low-contrast label on its production backing liner. Run from different parts of the roll and observe whether the sensor detects every gap without false triggers. Record the sensor type and setting, label gap and any printed or opaque feature used for detection. A successful paper-label trial does not prove that a clear label will be detected.
For a semi-automatic machine, include loading, foot-switch activation, labelling, coding, removal and placing the finished pack. For an automatic machine, include product spacing, normal accumulation and the intended coding or inspection process. State the run length and number of changeovers. A short burst with hand-spaced containers is not the same as sustainable production output.
Record a fixed wide view showing infeed, application and discharge, plus a close view of the sensor, label peel point and finished seam. Include the machine settings or trial sheet reference in the file name. Photograph a consecutive sample set in order rather than only the best pack. This creates evidence that can be compared if the label material or container changes later.
| Trial record | Minimum information | Reason |
|---|---|---|
| Sample identity | Container and label references, dimensions, material and condition. | Links the result to the exact production inputs. |
| Machine configuration | Machine route, sensor, coding, guide and speed settings. | Makes the trial repeatable during commissioning or future changeover. |
| Placement result | Defined measurements across a consecutive sample set. | Replaces subjective descriptions with agreed evidence. |
| Wrap-quality result | Wrinkles, bubbles, edge lift, seam and artwork orientation. | Shows whether the label is both positioned and applied correctly. |
| Output condition | Run length, full cycle timing, coding and infeed/discharge method. | Prevents a short demonstration rate being mistaken for line output. |
No customer result, capacity or acceptance figure should be published without the corresponding first-party trial record. Where evidence is not yet available, the correct output is a documented test plan rather than an estimated claim.
Acceptance run
The purpose of a trial is to create evidence that can be repeated during manufacture, installation or production—not simply to record that a machine applied one acceptable label.
| Trial stage | Action | Record retained |
|---|---|---|
| 1. Material identification | Record container dimensions, filled weight, material, label-panel taper, label and web dimensions, gap, core, roll outside diameter and winding direction. | Dimension sheet, sample references and photographs linking the test to the actual production materials. |
| 2. Setup record | Record guides, container contact points, sensor selection, label-start setting, wrap or clamping adjustment, coder setting and conveyor or operator method. | Setup sheet and photographs that allow the approved format to be recreated. |
| 3. Start-up sample | Inspect the first labels after threading or format change rather than excluding them from the evidence. | Placement measurements and notes showing how many cycles were needed to achieve the accepted setting. |
| 4. Repeat run | Run an agreed consecutive sample at the intended operating method and retain accepted and rejected packs. | Count of cycles, accepted labels, rejects, missed gaps, double feeds and any adjustment made during the run. |
| 5. Stop and restart | Introduce a normal controlled stop, then restart without silently resetting the test. | First-label position after restart and confirmation that container and label synchronisation recover correctly. |
| 6. Coding and inspection | Where included, print the required data and operate the proposed reader, check or reject response. | Legible code samples, verification result and evidence of the agreed fault behaviour. |
| 7. Changeover | Change to a second critical format or replace the label roll using the intended operator method. | Elapsed changeover time, settings changed and the first accepted pack after verification. |
| 8. Final evidence | Capture the machine running the approved materials and show infeed, wrap application, discharge and operator interaction. | Run video, close-up photographs, measurement record and a list of confirmed and outstanding project points. |
For vertical placement, measure from a defined container datum to the same label edge on every sample. For skew, compare the label-edge height at two stated points rather than relying on visual judgement. Record seam position, overlap or gap, and any wrinkles, bubbles or edge lift separately. For transparent labels, inspect both label position and the appearance of trapped air or surface variation through the film.
Output should be reported as accepted containers under the stated conditions. Include container and label format, run duration, sensor, coding, operator method, stops and rejects. A short video is useful evidence of handling and sequence, but it does not replace the measurement record or confirm long-run reliability by itself.
Filled weight and wall rigidity can alter how a container sits in guides or rotates. Supply the smallest, largest and most difficult formats, including any label material or artwork variant that changes sensing. A near-final sample is more useful than an easy demonstration bottle that will not be used in production.
List what the trial has demonstrated and what still depends on final artwork, line layout, guarding, utilities, code data or production labels. This creates a clear handover into quotation and engineering review. The specification checklist and line-integration guide cover the remaining inputs.
Video and measurement
Video helps reviewers understand handling and sequence, but it cannot replace identified samples, settings, placement measurements and accepted-output data.
Review conveyor presentation, label application and discharge before defining the automatic trial.
Review the operator-fed cycle and record the complete workstation method.
Measure label height, skew, seam and wrap defects from fixed references.
Identify the sample and settings shown in each clip. State whether the video records setup, a continuous run, stop/restart, coding, changeover or acceptance. Do not infer long-run performance from a short sequence.