
Confirm the format
Match the work order, container, label roll, coding data and retained approved sample before removing the previous setup.
Format change control
A fast changeover is only useful when the first accepted pack is repeatable. Separate mechanical adjustment, label threading, sensing, coding and quality approval into a controlled sequence.
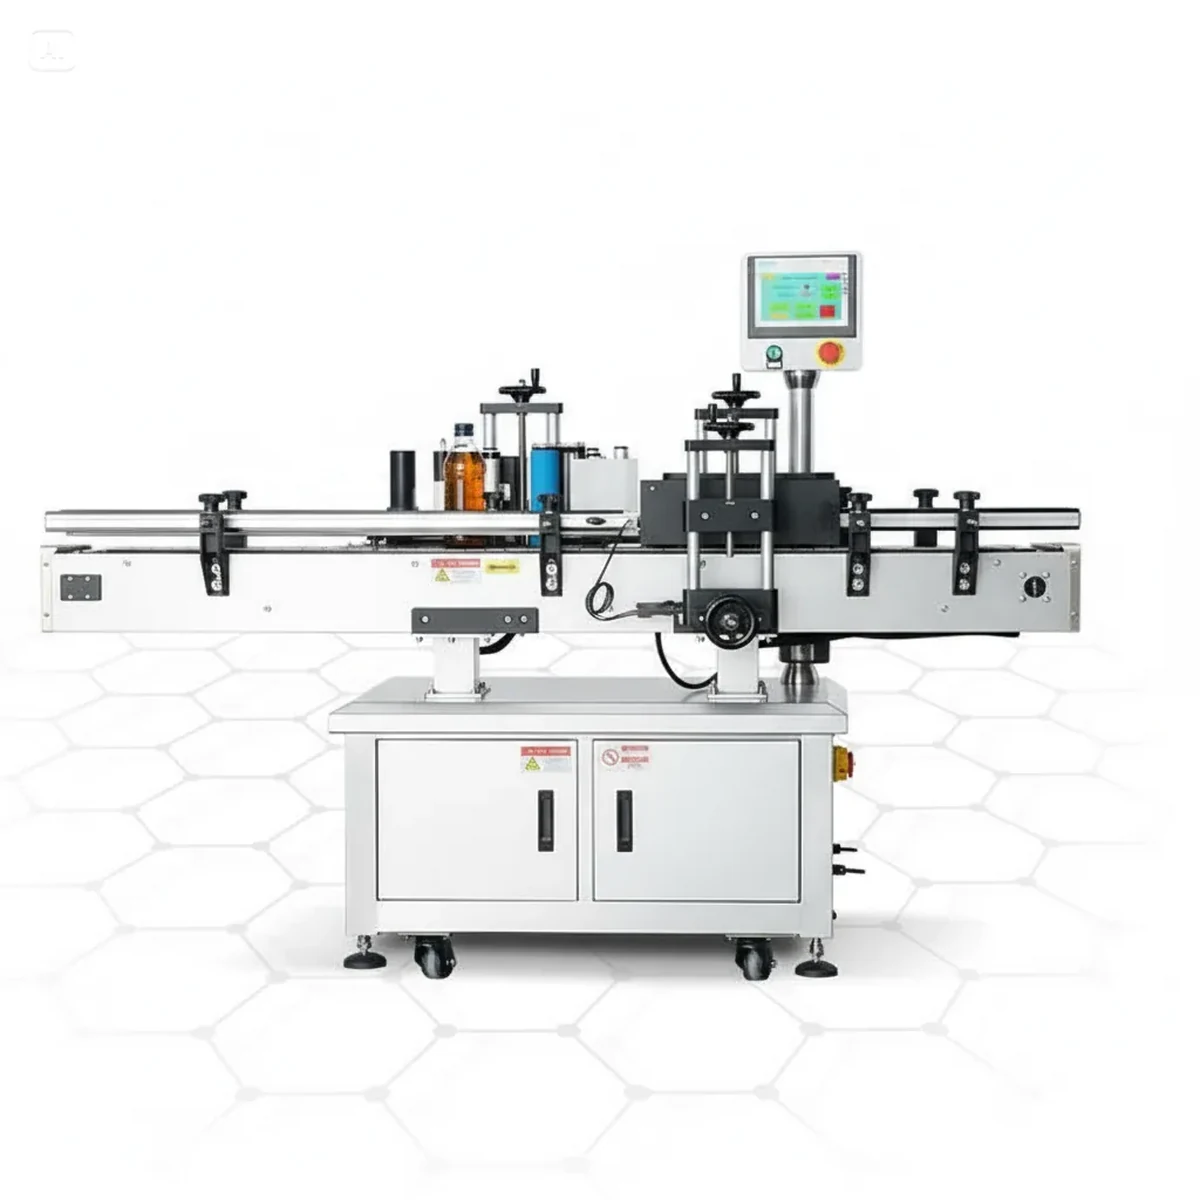
Changeover scope
Changing bottle diameter is only one part of a wraparound labeller change. The label roll, guide positions, sensor, wrap pressure, coding data and acceptance sample may all need separate verification.
| Change element | Bench or semi-automatic | Compact or fully automatic |
|---|---|---|
| Container support | Adjust rollers, cradle or guides so the operator can place the pack consistently. | Set conveyor guides, spacing devices, product sensor and wrap/clamping contact points. |
| Label roll | Fit the correct core or adaptor, thread the web and align the label to the pack. | Thread the complete web path, set tension, guide position, peel edge and waste-liner take-up. |
| Sensor | Position and teach the gap or clear-label sensor using the production roll. | Confirm detection at operating web speed and through stop/restart conditions. |
| Application setting | Set label start and container position for the hand-loaded cycle. | Set product timing, dispense delay, wrap speed/pressure and conveyor relationship. |
| Coding | Load the correct type, data or print position where a coder is fitted. | Confirm print trigger, data, print area, verification and fault response. |
| Approval | Inspect a defined first-off set before releasing the batch. | Inspect start-up, continuous run and first packs after a controlled restart. |
Controlled sequence
Follow the supplied machine manual and site safety procedure. Isolation, guarding and access must be handled by competent personnel for the specific installation.
Match the work order, container, label roll, coding data and retained approved sample before removing the previous setup.
Stop the machine and use the required site and manufacturer procedure before entering guarded or moving areas.
Remove adhesive, dust and fragments from rollers, guides, peel edge, belts and sensors without using a method that damages the parts.
Adjust the container path and wrap contacts from recorded datum points. Avoid relying on memory or unmarked handwheel positions.
Load the correct roll direction, align the web, teach the sensor and verify one label at low-risk setup conditions.
Check position, skew, seam, wrap quality and coding. Record the settings only after the accepted result is stable.
Changeover record
Changeover time should be measured from the agreed start point to the first approved production pack, not only the mechanical adjustment. For production planning, combine the changeover method with the output speed guide and the operator training guide.
Changeover verification
A changeover is complete only when the machine, materials, coding and quality checks have all returned to an approved condition. This avoids a fast mechanical setup being followed by repeated small corrections during the batch.
Where a label roll, winding direction or liner route is unfamiliar, use the label roll direction guide before trialling the format. The bottle labelling specification checklist can be used to capture the format data needed for Lancing to review a difficult or frequently changed application.
Quick enquiry
Include container diameter, label size, material, target output and whether the label is paper, film or transparent. Lancing can recommend a suitable semi-automatic, compact or automatic configuration.
Phone: 01494 623015
Email: sales@lancinguk.com