
✓
Clean label path
Remove adhesive build-up, backing dust and debris from the dispense area.
Maintenance guide
Routine maintenance keeps label placement accurate and reduces downtime. This guide covers practical checks for label applicators, wrap rollers, sensors, conveyors and product handling areas.
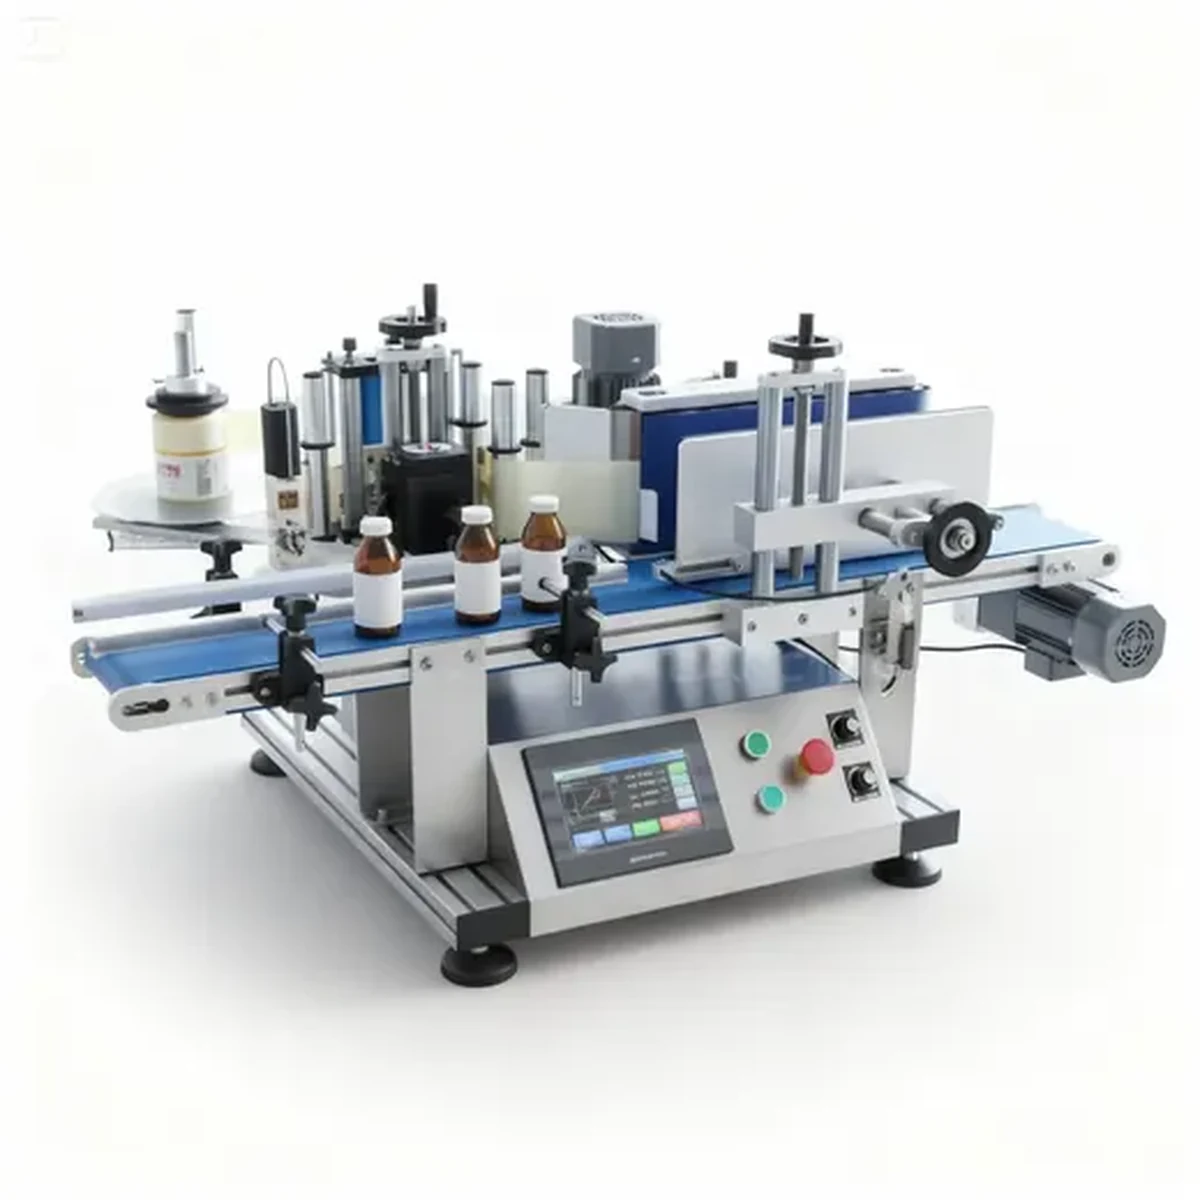
Maintenance guide
A labelling machine is exposed to label adhesive, backing paper dust, product residue and regular changeover. Cleaning and inspection should be built into production routines so small issues do not become recurring label placement problems.
Remove adhesive build-up, backing dust and debris from the dispense area.
Keep product and label sensors clean, aligned and correctly adjusted.
Inspect wrap rollers, drive belts and pressure surfaces for wear or contamination.
Practical comparison
| Area | Routine check | Reason |
|---|---|---|
| Label unwind | Roll turns freely and tension is controlled | Prevents label feed variation |
| Peel plate | Clean and free from adhesive build-up | Supports clean label separation |
| Sensors | Clean lens and stable detection | Prevents missed or double dispense |
| Conveyor | Smooth movement and correct guides | Maintains consistent product handling |
| Rollers | Clean, aligned and not worn | Improves wipe-down quality |
Specification advice
Review the actual container shape, diameter, label panel and surface finish. A label applicator works best when the pack is stable and the label area is predictable.
Confirm label material, roll direction, label gap and adhesive before ordering production labels. Clear, film or metallic labels may need extra testing.
Decide whether the operation is batch-fed, compact automatic or part of a conveyorised filling and capping line. The best machine is the one that fits the full process.
Related guidance
Use these guides to compare machine routes, confirm the label and container specification, and prepare the evidence needed for a useful quotation.
Browse selection, setup, sensing, output, integration and troubleshooting guidance for round-container labelling projects.
Compare bench, compact and automatic routes using container, label, output, changeover and integration requirements.
Collect container dimensions, label-roll data, output, coding and site details before requesting a machine quotation.
Check unwind direction, leading edge and roll presentation before ordering production labels or arranging a trial.
Measure the usable cylindrical panel and estimate label length, seam gap or overlap for a representative sample.
Separate headline cycle rate from sustainable accepted output by allowing for handling, coding, stops and changeovers.
Work through container, roll, sensor, guide and wrap settings when labels skew, wrinkle, bubble or fail to dispense.
Browse selection, setup, sensing, output, integration and troubleshooting guidance for round-container labelling projects.
Review conveyorised wraparound labelling for higher-output round-container lines and upstream or downstream integration.
Review a smaller automatic route for growing production where repeatability is needed without a full-size inline system.
Review operator-fed wraparound labelling for shorter batches, frequent changeovers and limited production space.
Compare bench, semi-automatic, compact and fully automatic wraparound labellers in one range overview.
Questions
Cleaning frequency depends on production volume, label adhesive and environment, but operators should inspect the label path regularly.
Adhesive ooze, label edge contact and dust can collect around the peel plate and rollers.
Yes. Recording cleaning and adjustments helps identify recurring issues and supports consistent production.
Technical review
This guide is maintained by Lancing's packaging machinery team. Lancing states that it has specialised in semi-automatic and fully automatic machinery for over 40 years and supports equipment across the UK, Europe and worldwide. Final recommendations are confirmed against actual containers, labels and production targets.
Last technical review: 11 July 2026 · About Lancing · Official company profile
Quick enquiry
Include container diameter, label size, material, target output and whether the label is paper, film or transparent. Lancing can recommend a suitable semi-automatic, compact or automatic configuration.
Phone: 01494 623015
Email: sales@lancinguk.com
Control plan
Cleaning and inspection should preserve sensor detection, web tracking, container rotation and guide alignment without changing validated settings unnecessarily.
| Interval | Checks | Record |
|---|---|---|
| Before each batch | Label path, roll direction, sensor cleanliness, guides, wrap surfaces, waste take-up and coder consumables. | Correct product recipe or setting sheet and first-off label check. |
| During production | Label height, seam, wrinkles, adhesive build-up, web tracking and unusual noise or slip. | Time and pack reference for any adjustment or stopped run. |
| At changeover | Remove old label and adhesive residue, inspect rollers or belts, set guides and verify sensor position. | Format settings and accepted first-off sample. |
| Planned inspection | Drive wear, fasteners, bearings, electrical condition, guards and emergency functions in accordance with the machine documentation. | Inspection date, finding, corrective action and replaced component. |
Use cleaning materials compatible with the machine surfaces, label adhesive and production environment. Avoid flooding sensors, bearings or electrical equipment and do not use a solvent merely because it removes adhesive quickly. Follow the supplied machine instructions and the label or adhesive manufacturer’s guidance.
When placement begins to drift, compare the current settings and contact surfaces with the accepted trial record before changing several adjustments at once. One controlled change followed by a repeat sample makes the cause easier to identify. The troubleshooting guide covers common evidence to collect, and the sample-testing guide provides a measurement method.
Support and safe maintenance
No. The list should be based on the installed configuration, wear, consequence of failure and replenishment time, using verified part numbers rather than a generic kit.
Retain approved recipes, parameter files, mechanical setting records, label specifications and reference packs so a known-good condition can be restored after a change or repair.
Stop where guarding, isolation, unexpected movement or electrical safety is uncertain, or where the task is outside the authorised procedure and competence of the person doing it.
Use the service, spares and support guide with the safety and PUWER guide.